
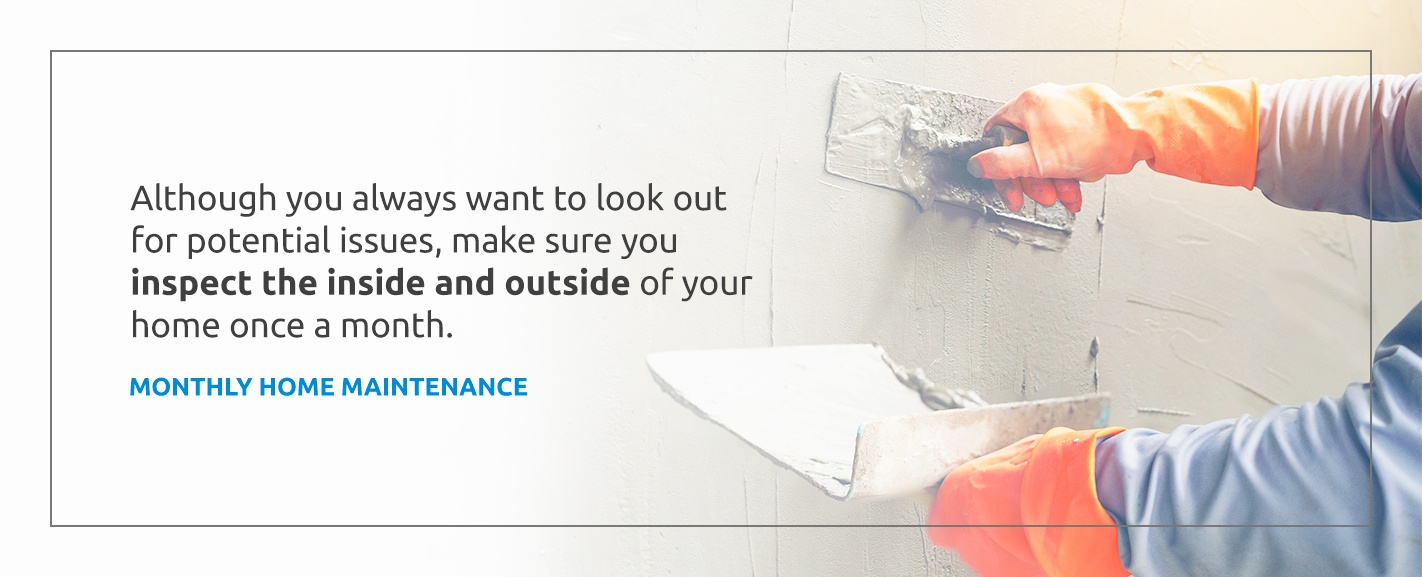
Every month, you’ll want to set aside a day or two first to inspect the inside and outside of your home and then do a deep-cleaning. In this chapter, we’ll show you what you need to do to maintain your house monthly and provide some handy tips. If you have any questions about your home’s condition and how it can impact your homeowners insurance, please contact us at David Pope Insurance, and we’ll be happy to assist you.
Deep-cleaning the inside of your home once a month makes it easier to keep your house sanitary and comfortable until your next thorough cleaning. By removing dust, food crumbs and other built-up debris, you’ll enjoy cleaner air and prolong the life of appliances and furniture in your home. Use this monthly checklist to guide you:
Giving your house a thorough cleaning once a month can seem daunting if you don’t have the right supplies or know what to do. Cleaning becomes a much less stressful process if you gather your tools first and learn a few tricks. Here are some tips to help you clean your home with ease:
Your plumbing system is responsible for bringing potable water into your home and draining wastewater and sewage from your house. It can also lead to troublesome leaks. It’s critical your home’s pipes, fixtures, appliances and drainage system works well and keeps you supplied with clean water without making a mess. You can avoid many common plumbing problems, liked clogged drains, with a few simple tricks and save yourself from needing a plumber. Here are preventive plumbing maintenance tips for your home:
There are few ways to clean the pipes in your house, depending on your needs. Here are a few solutions:
If you recently had your water service turned off and turned back on, you might have stagnant water sitting in your pipes that should be flushed. To flush your pipes, take these steps:
You’ll then need to flush your water heater. It’s recommended to follow the instructions in your manual or contact the manufacturer for guidance. After you completely flush the pipes in your house, run the taps at the kitchen and bathroom sinks 10 minutes each and then reinstall clean aerators.
If you were recently on vacation or want to flush stagnant water in a guest bathroom, you can quickly refresh plumbing pipes by letting the water run for five minutes at each faucet for cold and hot water. Remove the faucet aerators to help the water flow. While you have the aerator or screen removed, clean it with white vinegar and an old toothbrush.
Dealing with a clogged drain anywhere in the home is never a fun way to start the day, but it doesn’t have to be too time-consuming. To unclog drains, you can take the following steps:
If you have polyvinyl chloride (PVC) pipes rather than metal pipes, avoid boiling water and use hot water instead.
If the clog is severe, such as a shower drain blocked with hair and soap scum, you may want to remove as much as you can by hand first. Put on rubber gloves, remove the shower drain cover, then stick a straightened wire hanger down the drain and pull out the debris. After you clear the drain with the hanger, you can complete the above steps and put the cover back in place.
If you have hard water in your home, it means you may have a high amount of dissolved calcium and magnesium. You might have hard water if you find white stains on items like sinks, appliances and sometimes dishes. Although hard water is generally not something you have to worry about regarding health, it can clog pipes with mineral buildup. One thing you can do to solve the issue of hard water is to install a water softener system. However, if you don’t have room in your budget to invest in a water filtration system, you have other options. Here’s what you can do to clear mineral buildup from your pipes:
Hopefully, the above solutions help you clean the pipes in your home, but if they’ve gone too long without attention and clogs do not resolve, you may need to call a plumber for help.
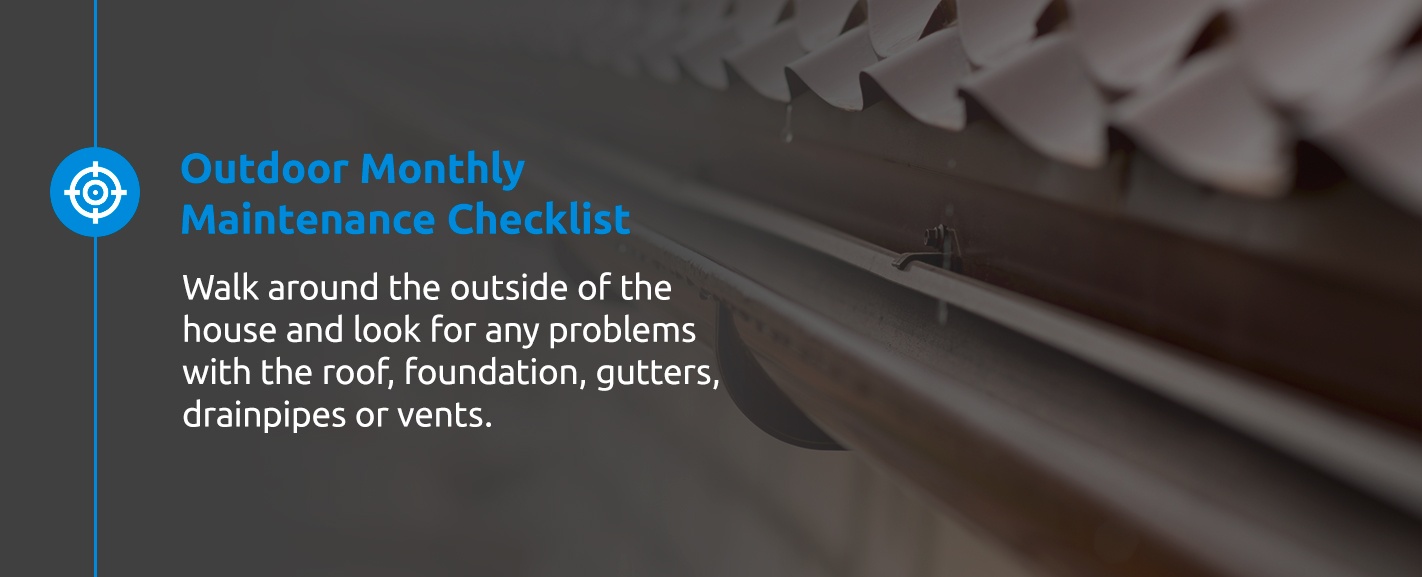
Once a month, you’ll want to do a more thorough investigation of your home’s exterior than your usual weekly glance-over. Walk around the outside of the house and look for any problems with the roof, foundation, gutters, drainpipes or vents. If you find issues, be sure to schedule a repair as soon as possible. Otherwise, here’s what you’ll want to do to maintain the outside of your home every month:
Sometimes trees add value and beauty to a property. According to the Arbor Day Foundation, a mature tree might be valued between $1,000 and $10,000. Trees can also help your home be more energy-efficient and offer cooling shade in the summer and block the house from wind in the winter.
Other times, trees can be a hazard and should be removed. You’ll probably want to remove a tree if it’s dead, dying or located under power lines. You may also wish to get rid of a tree if it’s too close to your house and cannot be regularly pruned.
In general, trees should be at least 20 feet away from the house or other structures. There are several reasons for this. First, when a tree is too close to your house, it’s easy for leaves and twigs to accumulate on the roof and in the gutters. Also, the wind can cause branches to scratch the siding and roofing materials. A tree’s roots can also put pressure on your home’s foundation and cause it to crack or become unstable. Lastly, you’ll have to worry more about a tree or branches falling onto your home during a storm.
How do you know it’s time to get rid of a tree if it’s not too close to your house? Here’s what you’ll want to look for when you perform a tree health evaluation:
If you’re unsure whether you want to get rid of a tree despite signs of ill health, contact an arborist and find out what they recommend.
One of the best parts of being a homeowner is having your own outdoor space. If you have the time and resources, you can create your own oasis outside to enjoy whenever you want. Your front lawn, in particular, can potentially raise the value of your home and increase curb appeal. According to a recent study, homes with curb appeal sell for 7% more than homes with less attractive exteriors. In some areas, homes with curb appeal might be worth 14% more than unappealing homes. When buyers see a home that’s well-maintained on the outside, they are apt to assume the inside is taken care of as well. This is something to keep in mind if you decide to sell.
In the meantime, you should take advantage of your yard and enjoy it as much as possible. To have a beautiful lawn you can’t wait to come home to, you’ll need to put some effort into the upkeep. Here are some tips:
The best fertilizer depends on what your plants need. According to the U.S. Department of Agriculture (USDA), plants need nitrogen, phosphorus and potassium to grow. Depending on the soil, your lawn may need more or less of one of these nutrients. You can test your soil first to determine exactly what’s needed with a DIY kit or contact a soil testing lab. To give you an idea of what to expect, Purdue University recommends using high-phosphorus fertilizer for a new lawn and high-nitrogen fertilizer for an established lawn.